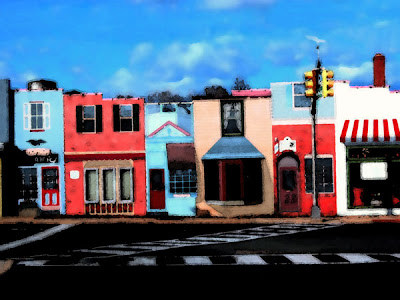
This is the same photograph after I applied several filters. Want to know how I did it? Keep reading for the mini tutorial.

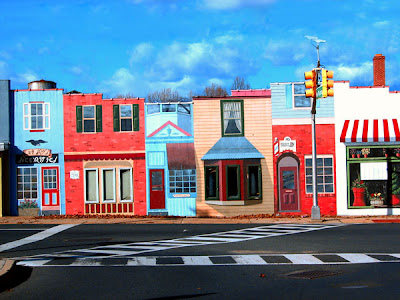
Ok, remember the photo I showed you previously...the one with the blue cast, which I then taught you to fix? Here it is on the bottom, and then I played with some filters to make it look like a rough painting. I kind of like it, but then again, I am not an expert. There are tons of ways to do things in Photoshop, but you have to play around with it to achieve the look you want.

Ok, remember the photo I showed you previously...the one with the blue cast, which I then taught you to fix? Here it is on the bottom, and then I played with some filters to make it look like a rough painting. I kind of like it, but then again, I am not an expert. There are tons of ways to do things in Photoshop, but you have to play around with it to achieve the look you want.
Want to know how I did it? Here are the steps.
I opened the photo, duplicated said photo, selected the duplicated photo layer and ran a filter.
FILTER>BLUR>SURFACE BLUR
R 15, Threshold 41
Then I ran the watercolor filter
FILTER>ARTISTIC>WATERCOLOR
Brush:4 Shadow:3 Texture:1
I also used an underpainting filter
FILTER>ARTISTIC>UNDERPAINT
Brush 4, Texture 22, Canvas, Scaling 82%, Relief 5, Top Right
I then faded the underpainting effect to 57%
(Edit>Fade>enter percentage)
(Note: I ran the watecolor filter 2 times on my photo)
And that is all there is to it. I hope you learned something new today. Have fun playing around with filters to get different effects.
Kait
2339
1 comment:
great use of the filters, love this look!
Post a Comment